
Although not in bad shape, the seats hidden underneath the faded covers are dirty and in need of some new upholstery.

 The first challenge was getting the seats out of the car without damaging any of the original pieces. There are at least six different types of screws and bolts, all of which require a different type and size of tool to remove. After removing the entire passenger seat, the back of the seat was separated from the bottom. The headrests were an even bigger challenge. Instead of the two-pronged latch, these headrests have a single metal piece that slides down into a track which is attached to the back of the seat. Athough the headrests slide easily up and down, removing it entirely was quite an effort. With a luck, a little bit of cursing, and even more help from this detailed website (mustang headrest removal), they came free without too much of a hitch. My husband found the perfect tool- two metal chopsticks- since our personal tool supply is still at the beginner's stage.


After pinning each separated piece to the vinyl and tracing around it with a Sharpie, I cut out the new vinyl, making sure to cut on the outside of my marker line to give myself a little extra fabric just in case. There's nothing worse than spending hours on a new cover only to find out it's just a few millimeters too small! Using my sewing machine and some heavy-duty thread, I carefully sewed the vinyl to the old foam backing, then attached each piece together like the original. In the areas that were too thick for my sewing machine to handle, I hand-sewed for a secure seam.
After finishing the vinyl for the first seat, I decided I wanted to go with a two-toned color scheme. So, I simply swapped out the blue vinyl for white in the center section and ended up with the below image. Pretty badass, huh?
 My next step after completing the vinyl is to somehow attach the covers to the foam backing. To do so, I need to secure the covers to the foam and secure it with hog rings. Since the local craft supply stores do not carry auto upholstery supplies, my next mission is to ask a local upholstery shop. Hopefully, they can give me some good advice...

 The first challenge was getting the seats out of the car without damaging any of the original pieces. There are at least six different types of screws and bolts, all of which require a different type and size of tool to remove. After removing the entire passenger seat, the back of the seat was separated from the bottom. The headrests were an even bigger challenge. Instead of the two-pronged latch, these headrests have a single metal piece that slides down into a track which is attached to the back of the seat. Athough the headrests slide easily up and down, removing it entirely was quite an effort. With a luck, a little bit of cursing, and even more help from this detailed website (mustang headrest removal), they came free without too much of a hitch. My husband found the perfect tool- two metal chopsticks- since our personal tool supply is still at the beginner's stage.

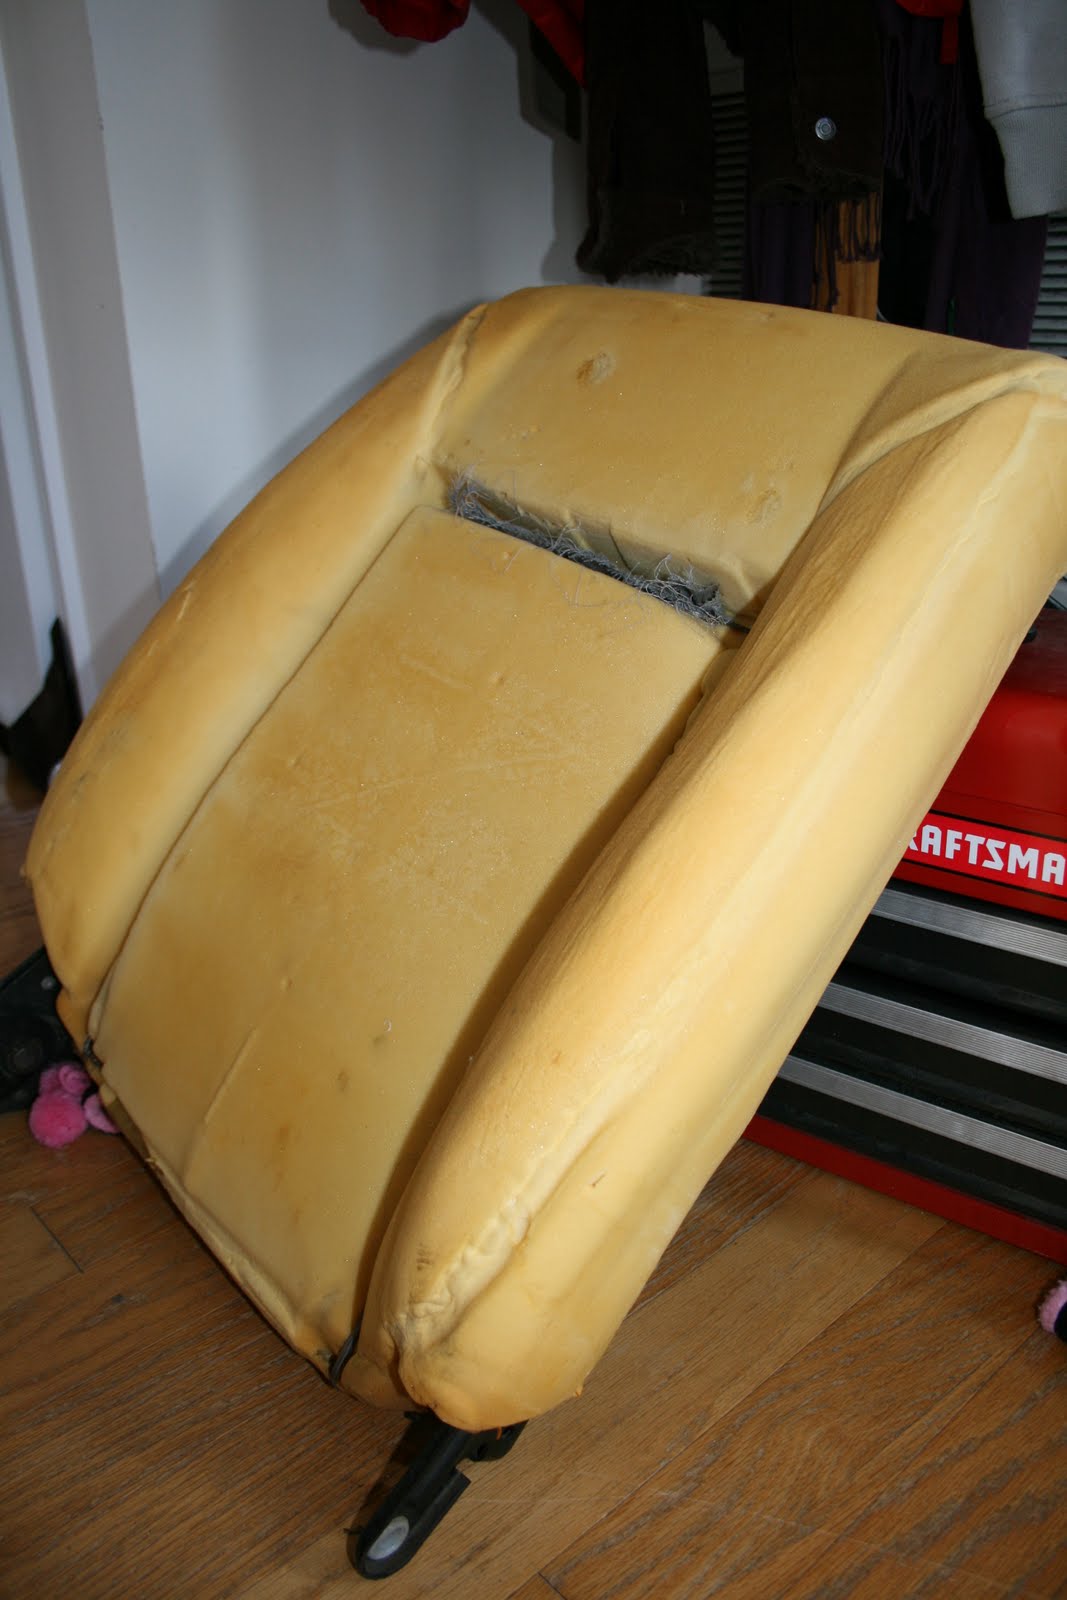
Once the headrests were removed, the upholstery was removed from the car seat and each piece separated at the seams. Despite the age, the foam cushions attached to the seat frame were in excellent condition and could be reused. Since the thin layer of foam underneath the vinyl was also in pretty decent shape, I decided to just reuse what I had an simply sew a new vinyl cover on top. Since I want to keep the original paint color of the car, I decided to go with a nice navy blue vinyl that I bought at Joann Fabrics. The fabric is made for marine vehicles since it is thick and water resistant, but can be used for pretty much anything else. I liked how it had a nice shine and a cloth backing, which made it soft yet durable. There is also a very slight stretch, which I figured would come in handy at the end.
After pinning each separated piece to the vinyl and tracing around it with a Sharpie, I cut out the new vinyl, making sure to cut on the outside of my marker line to give myself a little extra fabric just in case. There's nothing worse than spending hours on a new cover only to find out it's just a few millimeters too small! Using my sewing machine and some heavy-duty thread, I carefully sewed the vinyl to the old foam backing, then attached each piece together like the original. In the areas that were too thick for my sewing machine to handle, I hand-sewed for a secure seam.
After finishing the vinyl for the first seat, I decided I wanted to go with a two-toned color scheme. So, I simply swapped out the blue vinyl for white in the center section and ended up with the below image. Pretty badass, huh?


