Monday, September 7, 2020

RV Roof Replacement Project PART 8: Sealing the Roof and Finishing Touches

RV Roof Replacement Project

PART 8: Sealing the Roof and Finishing Touches

We finally reached the last phase of the project- sealing!!  We purchased 6 tubes of Dicor non-sag sealant for the vertical seams, screw heads, and horizontal seam, 6 tubes of self-leveling sealant that came with the Dicor roof installation kit for the rest of the horizontal places, and 4 tubes of Geocell Proflex for the vertical seams that wouldn't be covered with lap sealant. 

We started with the side bars, then worked our way around. After that was finished, we placed a dollop of sealant on every screw head, as well as a thing line around any seams. The reason we chose to do this is because we watched a video where it was recommended as an extra layer of protection. I wasn't completely sold on it because I worried whether self-leveling sealant could be applied directly overtop non-sag sealant so only time will tell if this works. Worst case, we scrape off and start over. 

Non-sag sealant on front cap

Non-sag sealant along side rails

Applied to satellite

Non-sag sealant on skylight

Non-sag sealant generously applied  to corners

We allowed the non-sag sealant to dry for 24 hours before starting with the self-leveling sealant. The next day the sealant still appeared soft which was worrisome but we thought perhaps that'll get better with time.Maybe it takes the full 48 hours to harden up, however we were told to wait only 4 hours between layers so hopefully that was okay. To make our panic even worse a quick google search landed me on a page where people complained about Dicor non-sag sealant having issues with cracking, so I am really, REALLY hoping ours will be okay. I would hate to go through all this trouble for a new leaking roof. I will update on how it went!

We had 6 tubes of sealant, unfortunately, it wasn't enough for our 33 ft. camper so we had to make a 2hr drive to the nearest Camping World to pick up more. 

The self-leveling sealant is difficult to apply and looks absolutely terrible. But, hopefully it'll do the job. 


Applying sealant is NOT the same as frosting a cake. It is UGLY.


We are done! I can't believe we were crazy enough to do this project, but I am so proud that we did. Not only did we replace the roof and fix the leak, but we enhanced it too by making it more sturdy. We also fixed the ladder and learned a valuable new skill. We can now easily replace any fixture (Fans, vent, A/C unit) which will eventually save us a LOT of money. We also have a MUCH greater appreciation for roofing professionals so if you do this for a living- hats off to you!


I hope you enjoyed this DIY project- if you attempt this on your own, be do your research and be safe. A few thousand dollars saved is NOT worth your life!

RV Roof Replacement PART 7: Reinstallation of Trim and Fixtures

RV Roof Replacement

PART 7: Reinstallation of Trim and Fixtures

This part went fairly smoothly. Luckily, everything was clean and labeled which made reinstallation a breeze. 

We started with the side trim. We applied a long piece of new Butyl tape to the underside of the trim and then matched up the screw holes on the roof so that the trim was exactly where it was positioned before. We then used new screws to reattach the trim to the roof. 

Applying new butyl tape to side trim

We then started replacing the slide covers and awning. The mistake we made was putting the slide cover back on BEFORE adding the vinyl screw cover trim back in. So later when we went to put the insert back in we had to remove and then reinstall the slide covers. Luckily, we didn't have to do that with the awning, as we could easily access the side trim from under the awning. 

Our very dangerous and unprofessional makeshift scaffolding. DO NOT DO THIS AT HOME

Side trim and canopies/awning reinstalled

The next part of the project was reinstallation of the rear termination bar. This proved to be somewhat difficult, as we knew this was the original weak spot and we wanted to get it right. Originally, the roof membrane was cut so that any water from the roof could leak directly into the interior walls, so this time we positioned the membrane so that it would run down the exterior. We also applied some aluminum tape on the corner of the roof so that any water would not leak into the interior walls. This may or may not have affected the adhesive to the roof- the jury is still out so only time will tell if it worked. 
Rear of RV ready for rear termination bar

Installation of rear termination bar

After installation of the rear termination bar we replaced the vinyl trim, making sure to tuck it under the termination bar at the ends. 

We then moved onto the rest of the fixtures. This part was also pretty easy, and we had everything (A/C included) up within an hour. 


We then finished the day off by reinserting the rest of the vinyl trim. Since our ladder hadn't been secure yet, we had to, um, improvise. Do NOT do this at home. 

One very dangerous way of putting things back on the roof

Making sure the vinyl trim is tucked underneath before metal trim is screwed down. 


We then worked on the ladder, which we saved for last because it uses 8-pointed spider screws, something that we couldn't find a dedicated tool anywhere to remove. Internet to the rescue! I read that you can use a square bit to remove them and lo and behold, it worked!

Square bit alongside spider screw

One thing that was really bothersome when we bought the RV was how loose the ladder felt. Not only did we discover that the ladder was attached by rusty screwed to 1/8" plywood at the top, but the pieces that attached the ladder to the RV were not completely screwed in, causing the ladder to sag downwards. So dangerous!

To fix this we removed the ladder from the RV, unscrewed those metal pieces and then accessed a screw from the side that originally faced the RV wall. After tightening that screw, we then reinstalled the ladder and it felt incredibly strong. 

The final phase of our RV roof replacement project is next!


RV Roof Replacement PART 6: Installation of new TPO membrane

RV Roof Replacement Project

PART 6: Installation of New TPO Membrane

For some reason, we thought this step would be easy. I mean, what could go wrong with simply slapping on some adhesive and covering it with your new membrane? Well, we messed up. And it almost cost us the entire project.

For this part, we bought a flat broom and a painters kit which included a pan and a roller. We also bought a Dicor-brand TPO membrane from Amazon along with a Dicor EDPM/TPO membrane installation kit. Our plan was to position the membrane on the roof, roll it out to make sure it was enough, apply adhesive, and then re-roll the membrane on top of it. 

The first part went off without a hitch. We placed the membrane on the roof and carefully unrolled it. We had plenty (our camper is 33' and we bought a 35' membrane) so we carefully rolled it back up and started on the adhesive. 


An important note is that we started rolling the adhesive about a foot from the front cap with the plan to finish this part at the very end. One of us began rolling our adhesive on in generous amounts while the other unrolled the membrane. We quickly learned that you absolutely CANNOT walk on the membrane after applying as the membrane would bunch up and create a horrible patch that was full of bumps. So, after rolling on the membrane, the broom was used to press the membrane onto the adhesive and to smooth out any bubbles.


The BIG mistake that we made was that after initially rolling it out, we neglected to make sure that we rolled it back up perfectly straight. As a result, the membrane started to go on at a slight angle, and we would've been in BIG trouble if we got to the end and there wasn't adequate overhang to reattach the side bars. We couldn't start over because the membrane was already covered in adhesive. So, what should've been a fairly easy job of unrolling the membrane became one of the biggest stresses of the entire project. Thankfully, we ended up having just enough on either side so we escaped a MAJOR bullet. 

Mostly-completed roof


After reaching the end, we slashed an "X" into the rear bedroom window and made our escape out of it and waited a few hours to let the adhesive dry.


"X"'s cut into membrane over openings

We later returned to roll the adhesive onto the front part of the roof. We ran into a problem where we couldn't decide whether to install the roof OVER the front cap, or UNDER it. We watched a few videos that swore by placing it OVER, as in theory any water that gets under the front termination bar will simply slide off the top and not travel under the front cap. The original membrane was installed UNDER the cap so we had to make the decision to try something new or keep it as is. Fortunately, that decision was made for us when we realized we couldn't get the new membrane under the front cap so we ended up placing it over. 

Rolling on the rest of the membrane


RV Roof Replacement Project PART 5: Cleanup time!

RV Roof Replacement 

PART 5: Cleanup time!

This was the most time-consuming part- we had to remove all of the butyl tape, silicone, and lap sealant from all of the items removed from the roof. It may have been overkill, but I believe that starting with a clean slate is the way to go in reducing future leaks. Plus, it made installation a lot easier as there was less mess. 

Butyl tape is pretty much like chewing gum- difficult but not impossible to remove. I found that by scraping off as much as possible with a flathead screwdriver, followed by a generous amount of scrubbing with mineral spirits and a cloth, resulted in a nice clean piece. 

Removing Butyl tape from trim

If there was any mold, I wiped it with a product called LA's Awesome cleaner, a product I forgot to mention in the previous post that I used to clean the edges of the RV roof that had gotten gross from the rotten wood. The product is truly awesome! 


I then took all the pieces outside and washed with a dish detergent, rinsed, and allowed to dry in the sun. They all looked fantastic and almost like new!


We also ordered new vinyl screw cover trim to replace the old ones that had gotten moldy.

A comparison of the new and old vinyl trim

Next up- new TPO membrane!

RV Roof Replacement PART 4: Installation of New Roof Plywood

RV Roof Replacement Project

PART 4: Installation of new roof plywood

This was a big day for us. As I mentioned in Part 3, making the decision to replace the entire roof instead of the damaged areas was not a fun decision. We knew that it would require a lot of additional work, but we wanted to do it right as we had already come so far and really, REALLY did not want to do this again in a VERY long time. Since it would have taken a tremendous amount of effort to chisel away the entire roof from the Styrofoam insulation we decided to simply use liquid nails and screws to attach an additional 1/8" piece of plywood overtop the original 1/8" roof in the areas that were undamaged. We would then place TWO layers of 1/8" plywood over the areas that were completely removed. 

However, we ran into another hiccup: our local hardware store did not carry 1/8" plywood so we were forced to travel 3 hours roundtrip to one that did. We also purchased a product called "Great Stuff Pro Spray Foam Adhesive" that was recommended by someone on a YouTube video. It appears to only be available online, so we had to wait a bit for this one to come in before beginning the roof replacement.  Our plan was to use the great stuff to attach the new boards to the Styrofoam below (this product is Styrofoam safe!) and then use liquid nails for the rest. 

Great Stuff is kind of an expensive investment, as you not only need the product (roughly $17 a can and we used two for he two 4x8' plywood boards that were replaced) but you also need the gun ($50) and cleaner ($8). However, this product is absolutely terrific- you only have about a 10 minute window to apply the foam before needing to adhere the roof so you have to work quickly. 

Great Stuff foam being applied over the Styrofoam.

After placing the replacement board, we put some concrete blocks on top to press it down. We allowed the Great Stuff time to dry before starting the next layer. 

Using blocks to hold down board

We then moved onto the front of the RV. However, we unfortunately ran  into a MAJOR problem- because the original roof was so thin, when we were removing the damaged wood from the front of the RV the metal joist below gave way and the roof sunk about 3 inches down. Unfortunately, because the metal piece was attached to the inside of the ceiling, the only way we could fix it was by somehow gluing it from the top. This was the second time where we panicked, and almost gave up. However, after some time brainstorming ways to fix the collapsed roof we came up with an idea- we ended up spraying more of the amazing Great Stuff Pro (and no, I am not affiliated with this company but I cannot sing their praises enough!) by sticking the nozzle of the gun underneath the Styrofoam and then immediately running to the inside where we attempted to push up the roof from the inside by climbing onto the dropdown bed and pushing up with our legs. It was hilarious and was a LOT harder to hold to hold the position for 10 minutes than we thought, so we ended up rigging up a board to push it up.

Us, literally trying to raise the roof

A much easier solution

We left the board in place for several hours and hoped for the best. When we returned we discovered that it actually worked! The roof was no longer sagging and was now perfectly aligned on the top side. We then moved onto the new boards. 

After replacing the damaged areas, we began the process of replacing the wood on the rest of the roof. This process was actually fairly easy, because we simply laid the boards on top of the roof, drilled a hole, and then used a hand saw to cut out the openings. For the vents we used a special tool meant for cutting circles. 

Cutting out the new holes

We then covered the edges of the holes with aluminum foil tape- this was something we noticed was done on the original roof and since we didn't have a single leak to any of the fixtures we definitely wanted to do the same thing.

Foil tape on the new holes

We then added liquid nails to the old wood and quickly placed the new boards on top. We noticed that even though we were well under the 10-minute window of time that the manufacturer suggests, the glue was starting to form a skin very quickly. We did the best we could, but noticed that some of the areas did not feel like they were fully adhered to the wood below. For these spots we used a staple gun and placed as many staples as we could. We then added screws on each corner as a secondary measure. 

We then replaced the radius trim and used staples to securely attach to the sides, covering all seams with seam tape to soften the connection between the metal trim and the roofing below. 

Seam tape on edges


Roof is complete!

In hindsight I wish we had completed the entire roof with the Great Stuff  instead of the liquid nails. We were dismayed to find that the liquid nails did not adhere as well as the Great Stuff, and I believe that this was not necessarily the fault of the liquid nails. The Great Stuff, being a foam, sealed the gaps that were between the 2 layers of wood. Even though the 2 layers of wood were theoretically right on top of each other I feel like there was still a little bit of a gap between them. The liquid nails may have been too thin to grab onto both boards. As a result, we had to our a nail gun to staple the heck out of the boards, then used screws in every corner to hopefully keep the boards down. It wasn't what we wanted but in the end the roof felt a LOT more sturdy and we were incredibly proud of the result. 

Keep reading to see what was next!


RV Roof Replacement PART 3: Removal of Old TPO and Assessment of Damage

RV Roof Replacement

PART 3: Removal of old TPO membrane and assessment of damage

On this day our plan was to remove the TPO membrane, find out which areas needed to be removed (hopefully not many), and then simply replace those boards with new ones. It was a simple plan. One we thought would only take a few hours.

Oh, no. After we peeled back the membrane we were horrified to discover that Coachmen factory installed 1/8" lauan plywood as the roofing material (shame on you!). On the various DIY sites and videos from professional roof installers we watched it was recommended that the roofing be NO LESS than 1/4", with a desired thickness of 3/8" so it was absolutely horrifying to see how thin the material was. 

Coachmen Pursuit factory roof thickness
This is the thickness of our factory-installed roof. Yikes!


For the most part, an RV roof is comprised of several layers: the interior layer which is usually a thin piece of plywood, Styrofoam or other insulation nestled in between your joists (ours were 6ft apart...), and finally another layer of plywood which is what your roofing membrane is adhered to. The outermost part of our roof didn't even measure 1/8"- it was actually only 2.5mm thick. This is barely thicker than cardboard, so you can imagine the strength the roof of our camper had with this material being placed on top of joists that were 6 feet apart. I am shocked we were even able to walk on it without falling through to be honest. 

Peeling back the membrane to reveal the damage underneath

Damage to the rear driver's side

Water damage to the front corners


Severely rusted screws that attached our ladder to the roof

Water damage to the rear passenger's side


Anyway, to add to our problems we also discovered that the lauan was attached to the Styrofoam below with industrial adhesive. This meant that we would literally have to chisel the damaged boards away from the Styrofoam so as not to damage it. Luckily, there wasn't *that* much damage to the roof. We actually kind of laughed because it we went through a whole lot of drama for just a few minor-ish spots. In hindsight, the areas that were soft were actually a result of the embarrassingly thin layer of plywood that comprised the roof and not necessarily rotten wood. However, the damage that we did see would have surely turned into a much bigger problem had we not addressed it. 


Chiseling away the damaged wood from the Styrofoam insulation

I DO want to give a HUGE shout-out for Azdel siding. If you have an RV, you know that one of the biggest problems you can have is delamination of your fiberglass walls. Azdel claims to be a revolutionary new product that does NOT delaminate or mold, and I can personally tell you that that claim is true. If you look at this photo, you will see what it looks like when the roof is removed, exposing the exterior walls and roof. The roof material has started to dry rot and separate in layers, but the Azdel looks almost new. I was truly completely blown away by this sight. If we had regular fiberglass, with the amount of water that our camper was exposed to we would have most certainly have delamination. From now on, if I ever buy again I will absolutely make sure it is one that uses this product.

Azdel siding on a dry rotted roof
Azdel siding on a dry-rotted roof

We also discovered the source of the RV leak- a tiny curved plastic piece that served as a junction between the rear termination bar and the vertical bars that go up either side of the rear of the RV. This piece was not only cracked, but the part that gets screwed onto the bar was also broken, so it wasn't able to securely hold the bar in place on the RV, causing it to stick out. The previous owners (or perhaps even the dealer that sold it to them) put on extra lap sealant but it still did not fix this problem. Water was able to leak in through the cracks of this piece with ease. Unfortunately, we discovered that there was no way to replace this essential piece- it was not sold anywhere. Fortunately, I have a very resourceful dad who used a type of resin putty that he used to attach to the piece and mold into a replica of the original. He even drilled a hole in it and painted it to match the RV. What a guy!

Behold, the culprit of the leak (the undamaged piece). A MAJOR design flaw, IMO

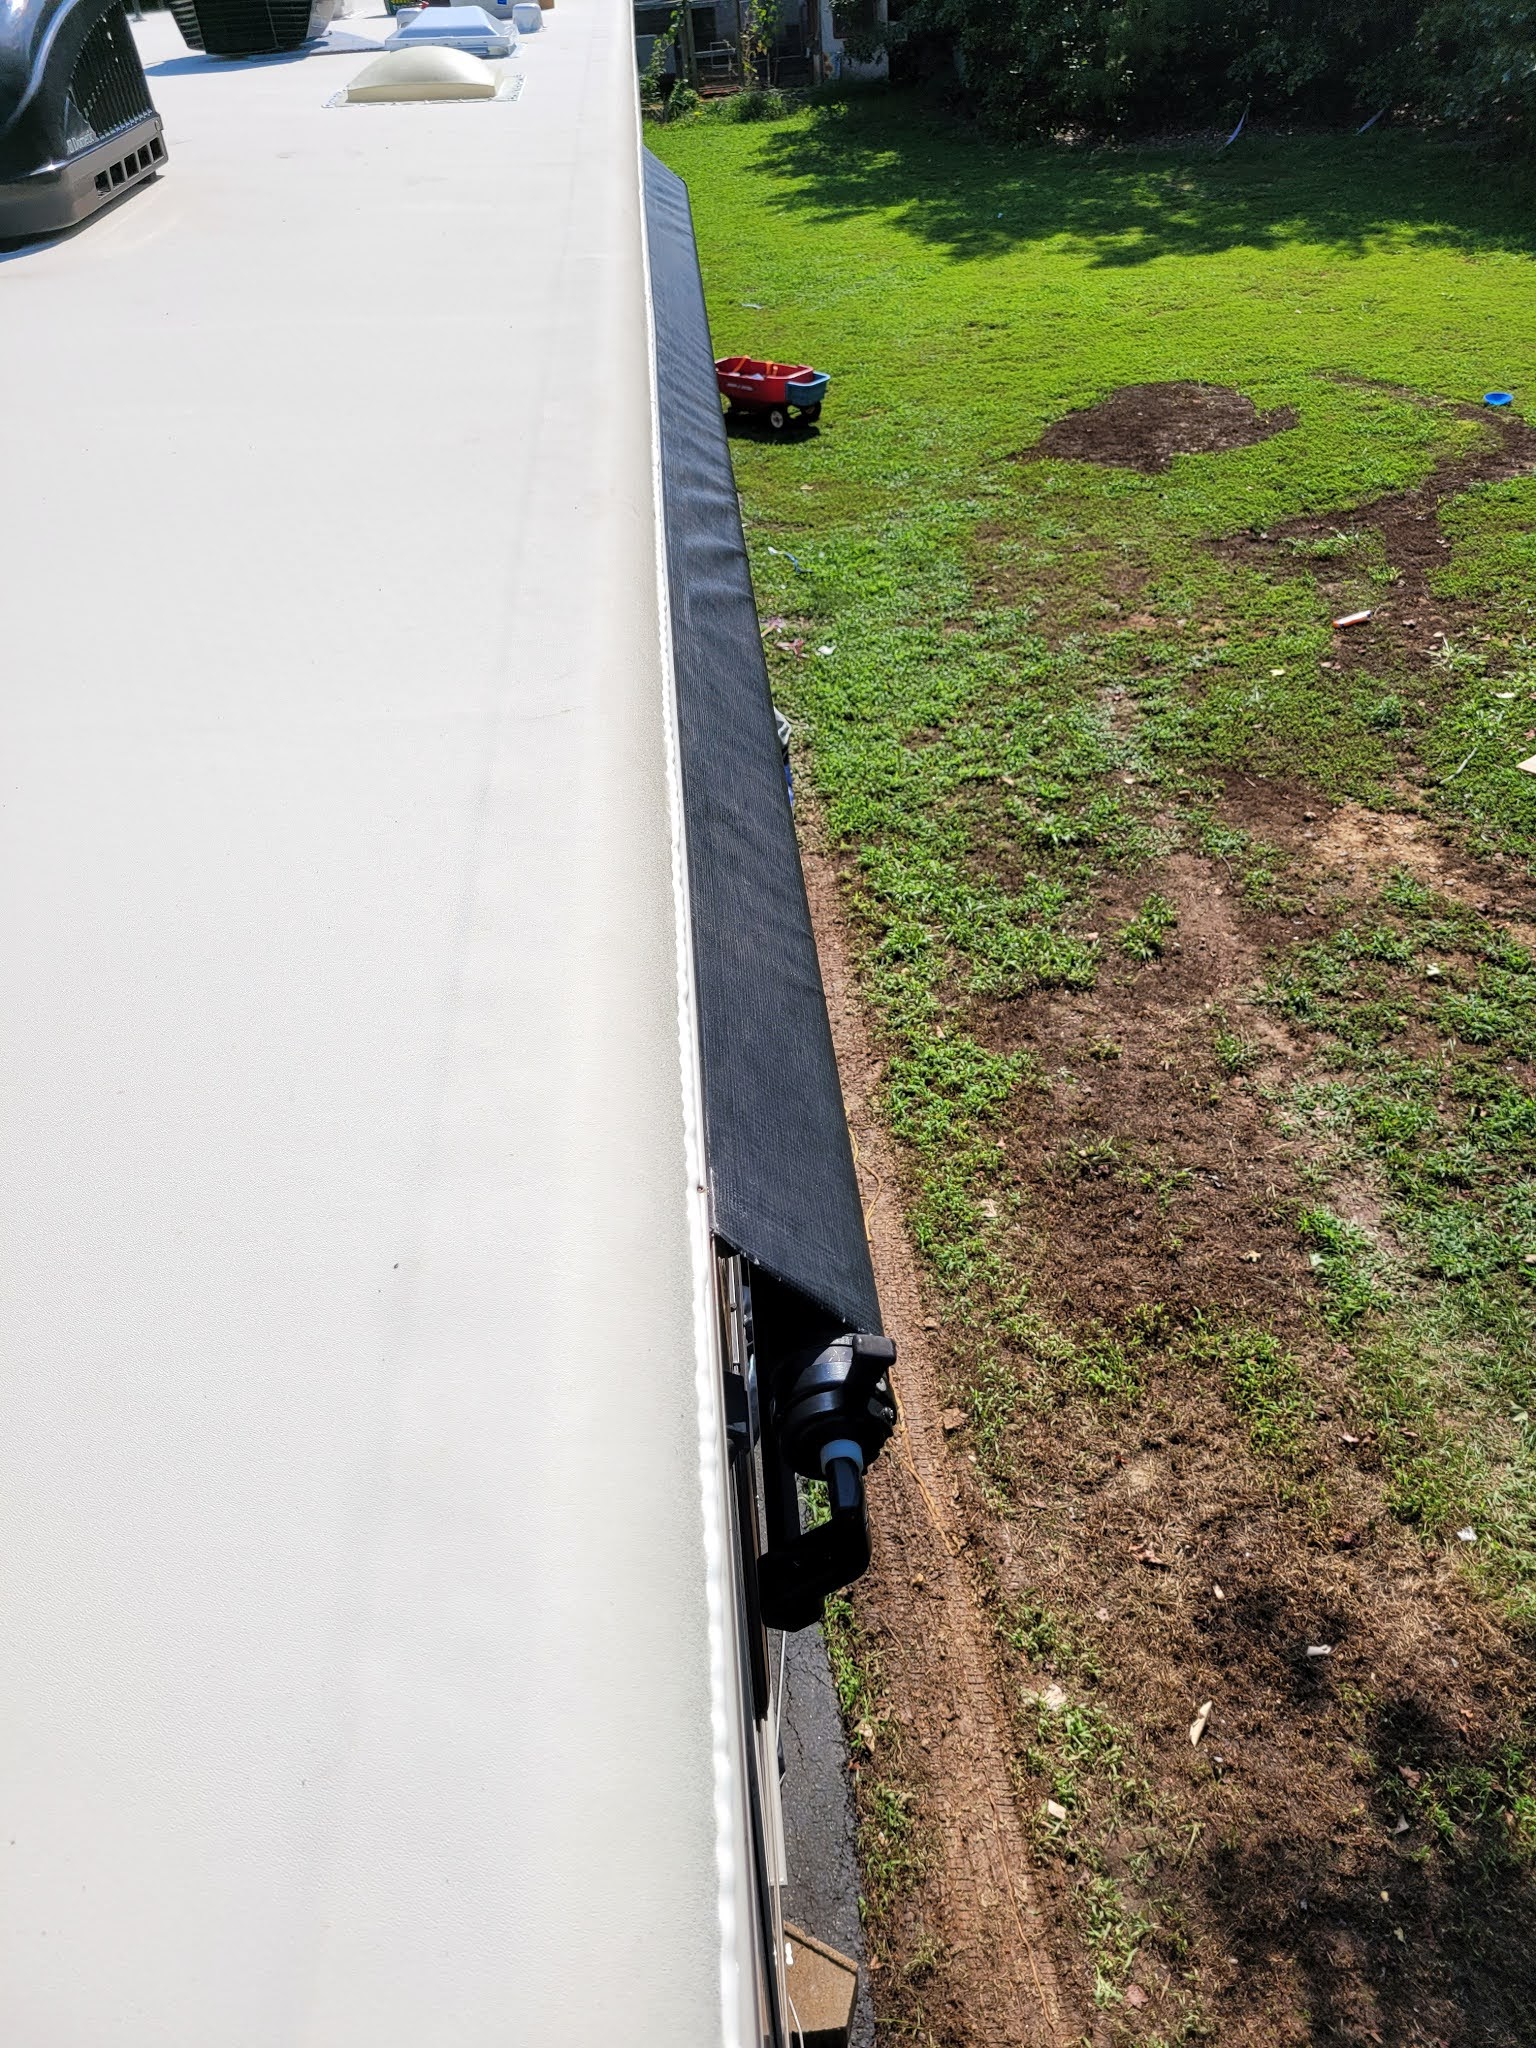
Before removing the membrane, we needed to remove the radius trim that ran along the side of the camper. This was achieved by using a screwdriver and a hammer to pop out the staples that were holding it in place. 

The trim whose purpose is to soften the edges between the roof and side of the camper

Removal of the TPO membrane was also a difficult job. We found that slicing small pieces of membrane made removal easier. It took several hours of pulling and a lot of blisters but we got it done. It was unfortunate that the original TPO membrane was fleece-backed, as removal left behind a layer of fuzz that we were worried would interfere with the adhesion of the new membrane to the roof. 

Membrane removed from roof

This was not an easy job!

We went back and forth whether to just replace the damaged wood with another layer of 1/8" plywood and leave the rest as is, making the roof 1/8" or add an additional layer of 1/8" plywood overtop the old undamaged to make the roof 1/4". The former was definitely the easier option, but one we felt uneasy with. After weighing our options we decided to do the right thing: we would make the entire roof 1/4" It wasn't the ideal 3/8", but definitely a LOT better than what was on it. 

Damaged wood successfully removed from Styrofoam insulation


Read on for Part 4, which is installation of the new roofing!