RV Roof Replacement Project
PART 8: Sealing the Roof and Finishing Touches
We finally reached the last phase of the project- sealing!! We purchased 6 tubes of Dicor non-sag sealant for the vertical seams, screw heads, and horizontal seam, 6 tubes of self-leveling sealant that came with the Dicor roof installation kit for the rest of the horizontal places, and 4 tubes of Geocell Proflex for the vertical seams that wouldn't be covered with lap sealant.
We started with the side bars, then worked our way around. After that was finished, we placed a dollop of sealant on every screw head, as well as a thing line around any seams. The reason we chose to do this is because we watched a video where it was recommended as an extra layer of protection. I wasn't completely sold on it because I worried whether self-leveling sealant could be applied directly overtop non-sag sealant so only time will tell if this works. Worst case, we scrape off and start over.
 |
| Non-sag sealant on front cap |
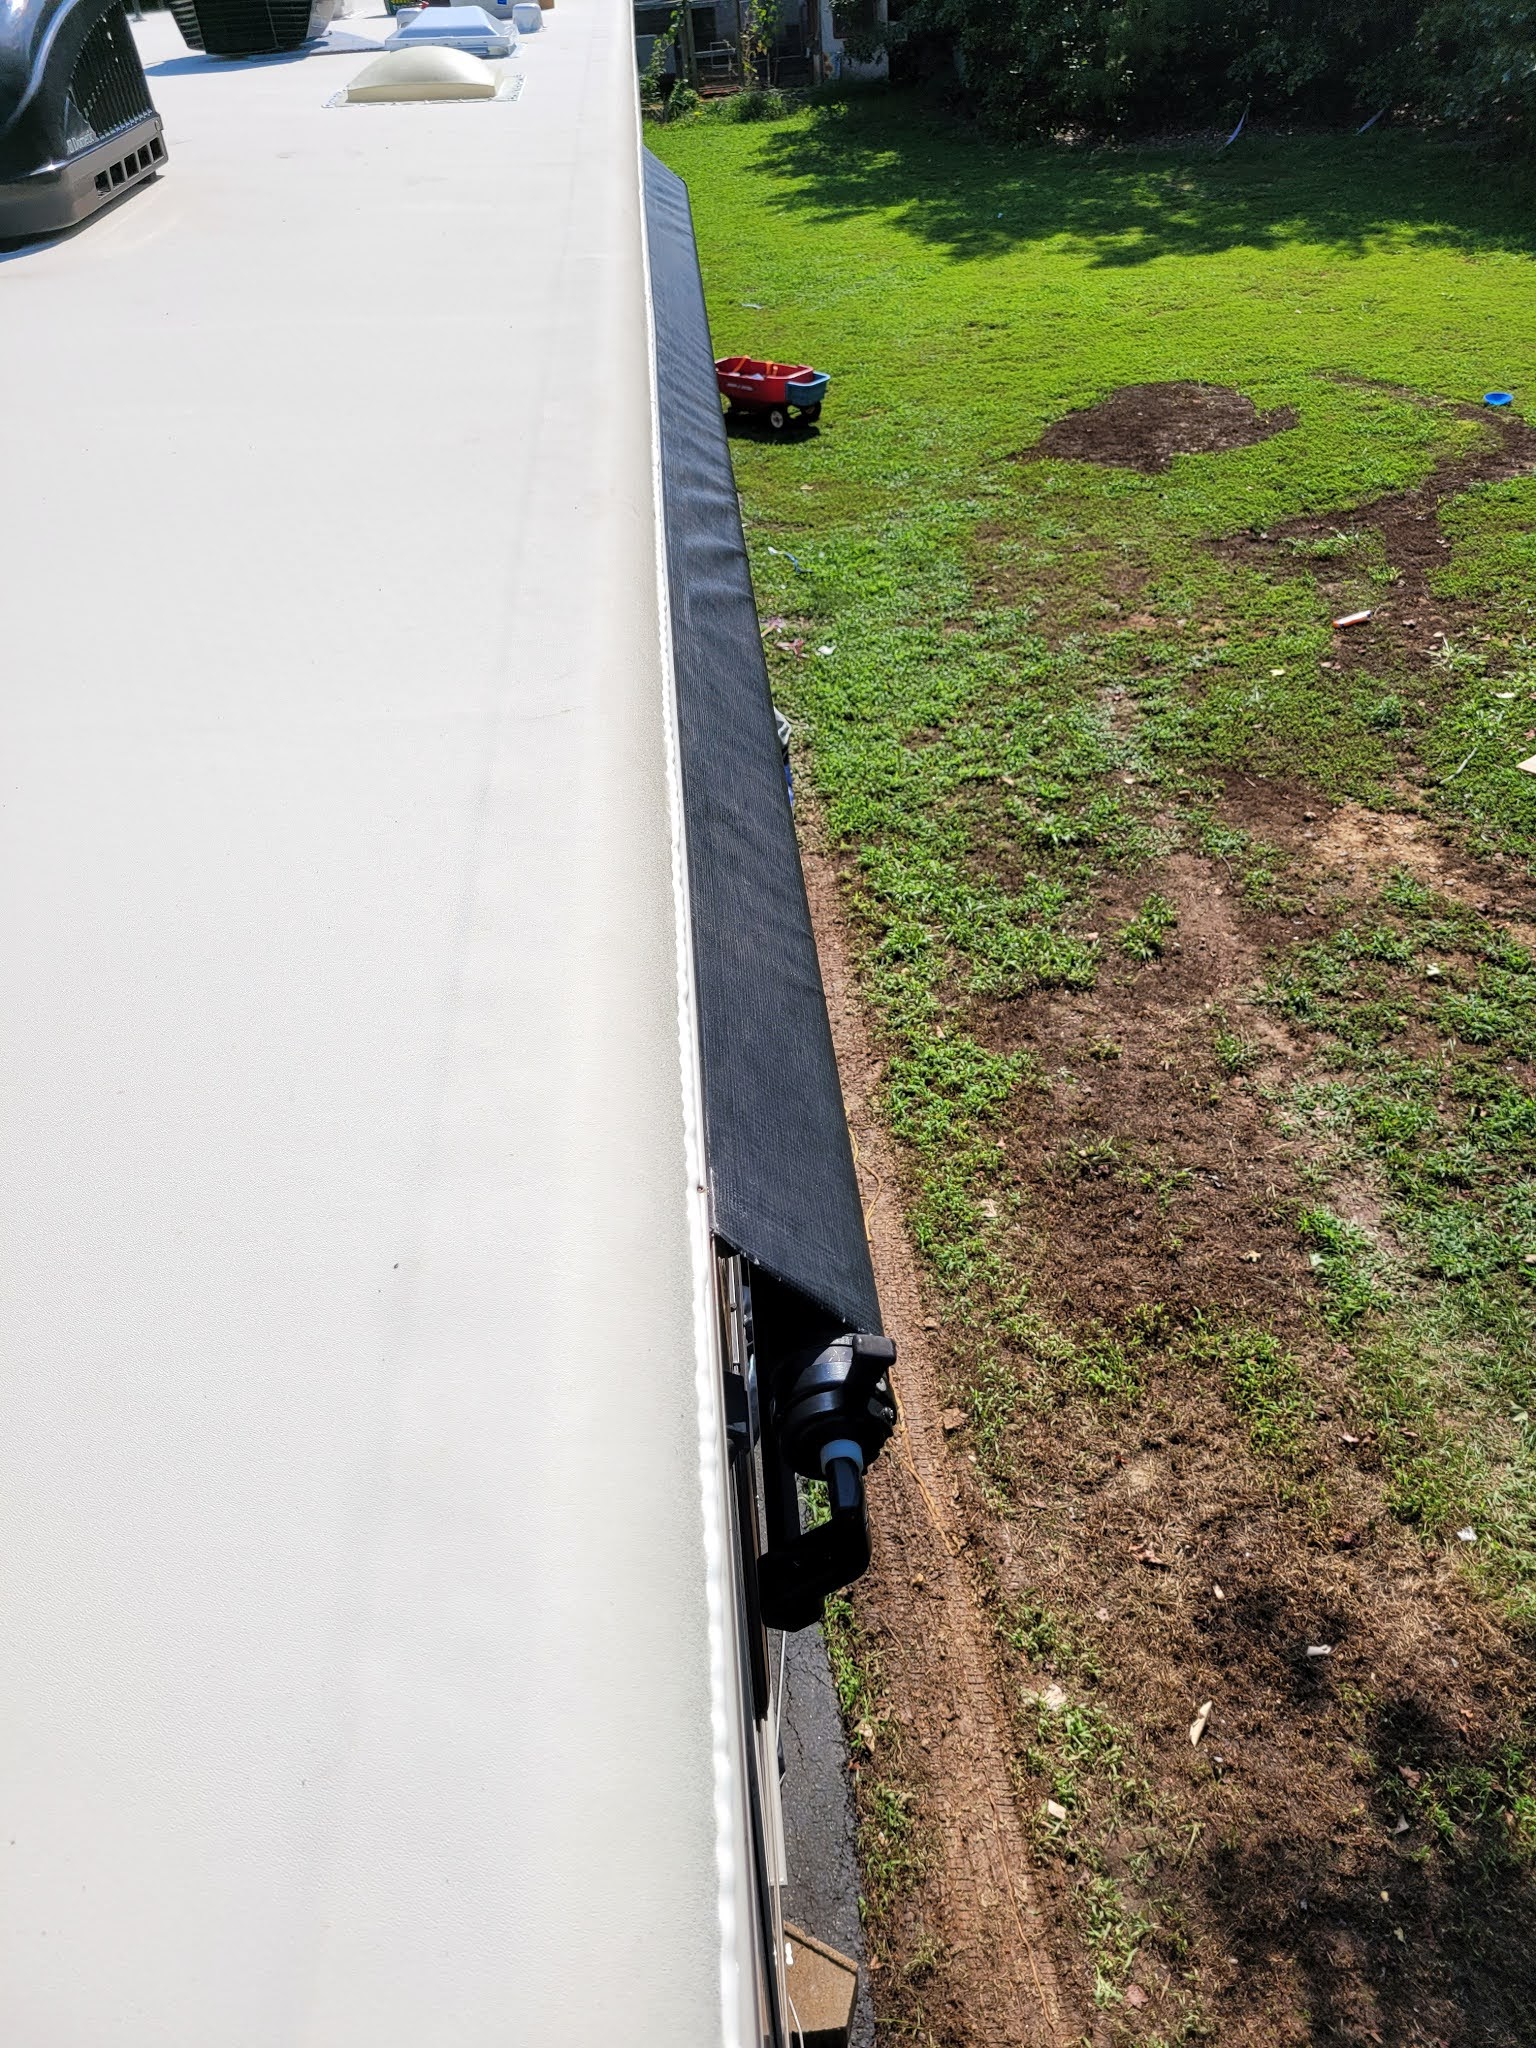 |
| Non-sag sealant along side rails |
 |
| Applied to satellite |
 |
| Non-sag sealant on skylight |
 |
| Non-sag sealant generously applied to corners |
We allowed the non-sag sealant to dry for 24 hours before starting with the self-leveling sealant. The next day the sealant still appeared soft which was worrisome but we thought perhaps that'll get better with time.Maybe it takes the full 48 hours to harden up, however we were told to wait only 4 hours between layers so hopefully that was okay. To make our panic even worse a quick google search landed me on a page where people complained about Dicor non-sag sealant having issues with cracking, so I am really, REALLY hoping ours will be okay. I would hate to go through all this trouble for a new leaking roof. I will update on how it went!
We had 6 tubes of sealant, unfortunately, it wasn't enough for our 33 ft. camper so we had to make a 2hr drive to the nearest Camping World to pick up more.
The self-leveling sealant is difficult to apply and looks absolutely terrible. But, hopefully it'll do the job.

 |
Applying sealant is NOT the same as frosting a cake. It is UGLY.


|
We are done! I can't believe we were crazy enough to do this project, but I am so proud that we did. Not only did we replace the roof and fix the leak, but we enhanced it too by making it more sturdy. We also fixed the ladder and learned a valuable new skill. We can now easily replace any fixture (Fans, vent, A/C unit) which will eventually save us a LOT of money. We also have a MUCH greater appreciation for roofing professionals so if you do this for a living- hats off to you!

I hope you enjoyed this DIY project- if you attempt this on your own, be do your research and be safe. A few thousand dollars saved is NOT worth your life!


No comments:
Post a Comment