Showing posts with label DIY sewing projects. Show all posts

Friday, September 2, 2011

How to make your own reusable nursing pads

I love these pads. As a nursing mother, I got tired of buying the expensive boxes of nursing pads that are good for one use and then tossed in the garbage, only to wind up in a landfill. These pads are great, because not only are they pretty, but they can be laundered over and over again with the rest of your clothes. I like to use an inner cotton layer, which allows skin to breathe and prevents sensitive skin from sticking and an outer flannel layer, which is soft and reminds me which side goes against my skin.

For your nursing pads, you need the following materials:
*Piece of cotton fabric measuring at least 5"x10"
*An old bath towel, or a piece of microfiber cloth
*Sewing machine and thread
*Scissors
*A drinking glass with a diameter at least 4"
*Piece of PUL (polyurethane laminate) fabric (optional, but I like to use to create a waterproof layer)


Instructions:
1. Spread out your fabric right side down.
2. Using a pen, draw an outline around your overturned drinking glass, making a total of four circles.
3. Repeat same procedure for your microfiber and PUL fabric, making two circles of each.
4. Using scissors, cut about 1 cm away from your outline on each circle, as shown. You should have a total of six circles.
5. Now, make your fabric sandwich. Create your layers as follows: one fabric circle (right side up), one fabric circle (right side down), one microfiber circle, and one PUL circle (marked side up).
6. Sew your layers together around your marked outline, stopping about one inch from your starting point.
7. Cut around your circle to clean up edges, leaving some uncut fabric in between your starting and stopping point for later.
8. Insert fingers through opening and turn fabric inside out.
9. Fold the excess fabric inward and pin to close up your opening.
10. Sew closely around outer edges of nursing pad.

And you're done! Pads will initially be slightly misshapen, but will regain their circular shape after ironing. If you are using PUL in your pads, take care when ironing as the PUL could potentially melt if overheated.




Thursday, May 13, 2010

Start with the seats


Although not in bad shape, the seats hidden underneath the faded covers are dirty and in need of some new upholstery.


The first challenge was getting the seats out of the car without damaging any of the original pieces. There are at least six different types of screws and bolts, all of which require a different type and size of tool to remove. After removing the entire passenger seat, the back of the seat was separated from the bottom. The headrests were an even bigger challenge. Instead of the two-pronged latch, these headrests have a single metal piece that slides down into a track which is attached to the back of the seat. Athough the headrests slide easily up and down, removing it entirely was quite an effort. With a luck, a little bit of cursing, and even more help from this detailed website (mustang headrest removal), they came free without too much of a hitch. My husband found the perfect tool- two metal chopsticks- since our personal tool supply is still at the beginner's stage.

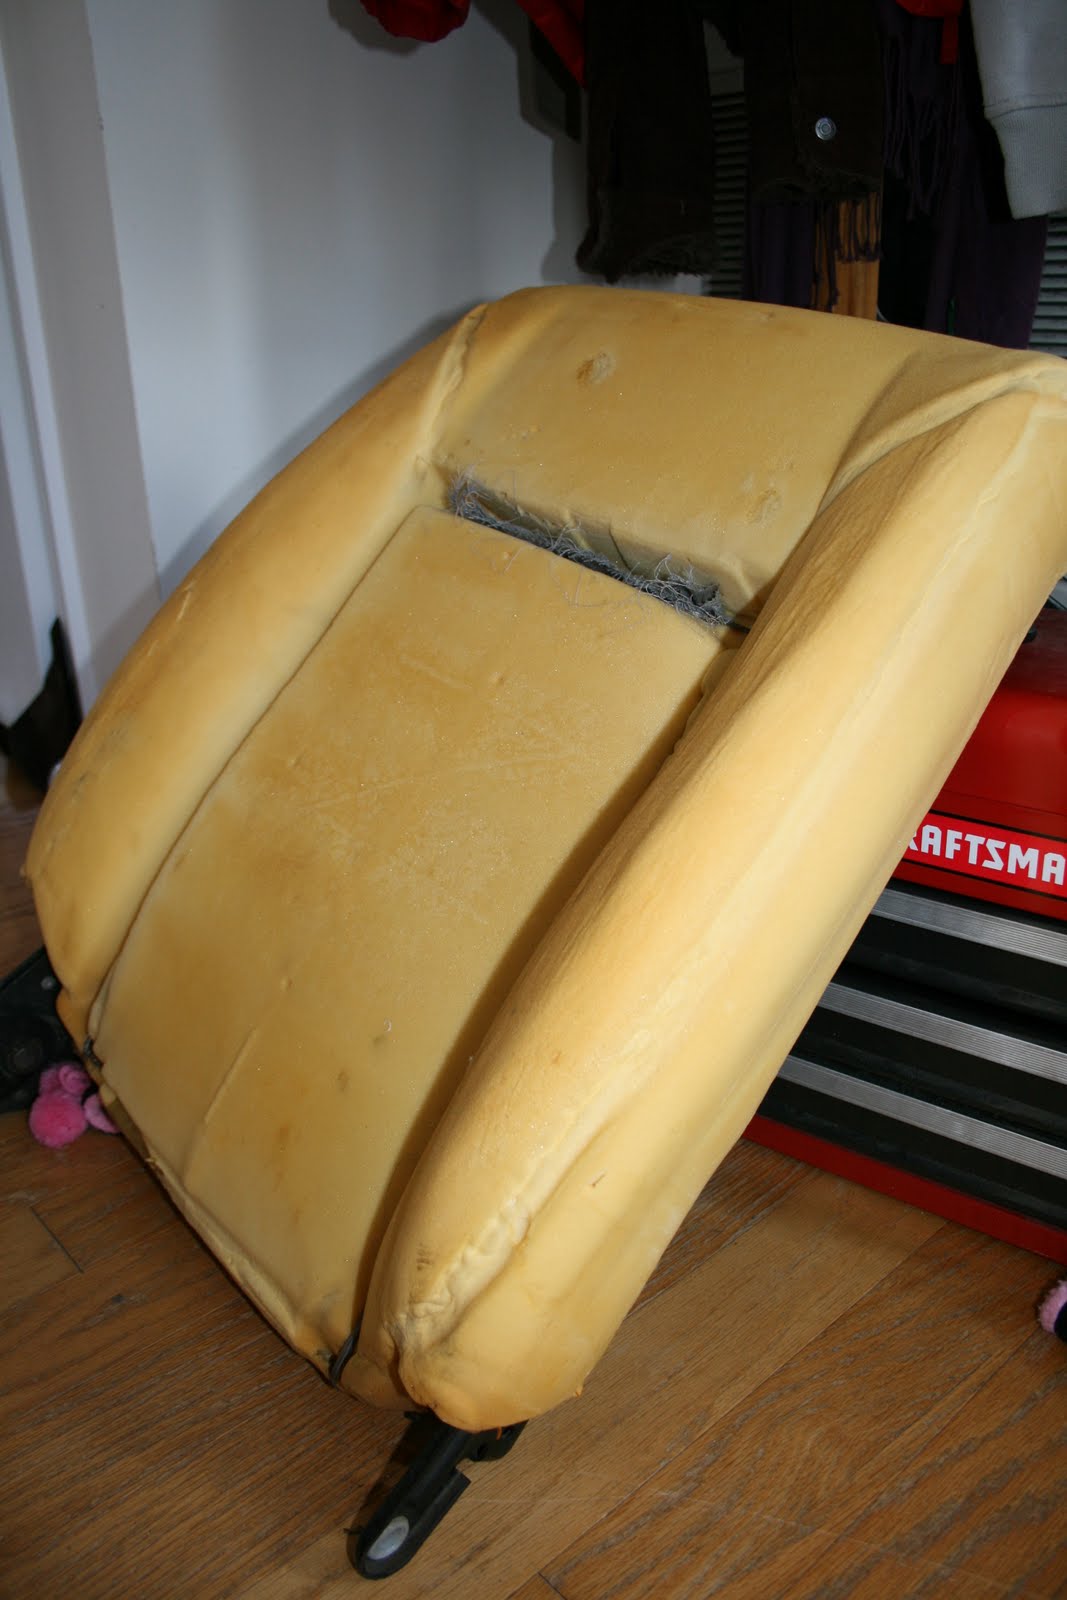
Once the headrests were removed, the upholstery was removed from the car seat and each piece separated at the seams. Despite the age, the foam cushions attached to the seat frame were in excellent condition and could be reused. Since the thin layer of foam underneath the vinyl was also in pretty decent shape, I decided to just reuse what I had an simply sew a new vinyl cover on top. Since I want to keep the original paint color of the car, I decided to go with a nice navy blue vinyl that I bought at Joann Fabrics. The fabric is made for marine vehicles since it is thick and water resistant, but can be used for pretty much anything else. I liked how it had a nice shine and a cloth backing, which made it soft yet durable. There is also a very slight stretch, which I figured would come in handy at the end.

After pinning each separated piece to the vinyl and tracing around it with a Sharpie, I cut out the new vinyl, making sure to cut on the outside of my marker line to give myself a little extra fabric just in case. There's nothing worse than spending hours on a new cover only to find out it's just a few millimeters too small! Using my sewing machine and some heavy-duty thread, I carefully sewed the vinyl to the old foam backing, then attached each piece together like the original. In the areas that were too thick for my sewing machine to handle, I hand-sewed for a secure seam.

After finishing the vinyl for the first seat, I decided I wanted to go with a two-toned color scheme. So, I simply swapped out the blue vinyl for white in the center section and ended up with the below image. Pretty badass, huh?

My next step after completing the vinyl is to somehow attach the covers to the foam backing. To do so, I need to secure the covers to the foam and secure it with hog rings. Since the local craft supply stores do not carry auto upholstery supplies, my next mission is to ask a local upholstery shop. Hopefully, they can give me some good advice...


Friday, March 5, 2010

The project begins...


A few weeks ago, I bought an '83 mustang convertible off of craigslist after having somewhat of a "quarter life crisis" when my son was born and I realized that my sports car days would soon be replaced by the ever so practical mini van. I'm not knocking vans, because I could live in some of the newer ones out there today, but it is nearly impossible to comfortably move a car seat in and out of a two-seater without throwing out your back in the process. Anyway, the car was fairly cheap and since I've always been kind of a crafty person I thought it would be a fun project to fix it up and have something to drive on the weekends and maybe even pass down to my son someday.

Before delving into my foxbody mustang restoration project I began a little background research. '83 was the first year that Ford began making the convertible in the '82-'86 style. According to musclecarfacts.net, the 1983 mustang was one of only 23,438 convertibles built that year. The car is powered by a 6-cylinder, carburated engine and was deemed more aerodynamic that its predecessors.

Before I bought the car, I had never heard of a foxbody mustang. For some reason, the '79-86 mustangs seem to have gotten the shaft somewhere in the evolution of the mustang line. True, nothing beats the first generation mustangs or the newer, faster, fuel-injected models, but something about that boxy shape and fierce eyes draws me into proving that the foxbody mustang is deservant of the same recognition as the other styles.

So, here goes my first attempt at a restoration and project that I can truly call my own. I hope you enjoy my journey...